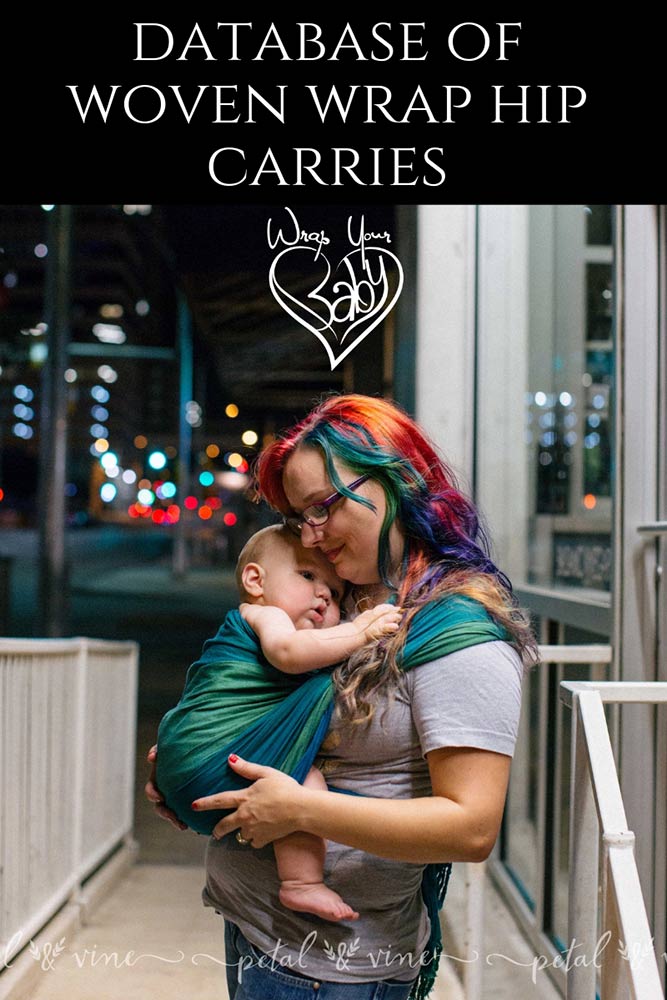
top of page

Wrap Your Baby

Home

Why Babywearing

Kinds of Carriers

Baby Carrier Store

Local Babywearing Groups

Facebook Forum


ssi-sidemenu

Save 5% instantly plus get FREE wrap tips by email!
Enter your email address to receive your coupon:  
For Email Marketing you can trust

HOW TO TIE A
WOVEN WRAP

special circumstances:

newborn carries

tandem wrapping & twins

front wraps:
cradle carry (rebozo)
front wrap cross carry
front cross carry
kangaroo carry
more front carries

back wraps:
rucksack/tibetan
back wrap cross
getting baby on back
more back carries

hip wraps:
hip carry (rebozo)
hip cross carry
more hip carries

Mei Tai carries:
front carry
back carry
Mei Tai tips


CUSTOMER SERVICE
1-800-730-9960
OR EMAIL
diana@
wrapyourbaby.com

Local Babywearing
Clearwater/Tampa FL


Cradle Carry / Hip Carry

rebozo cradle carry rebozo hip carry  

This is the most basic carry that is done with a short wrap, or rebozo. Since I have a longer wrap, I tied the excess around my waist.  If you have a longer wrap, you may prefer a different carry.

Baby can be inserted sitting up on the hip, or in a cradle position.

This is a very quick and easy carry that the ring sling was based on.  You can leave it tied and put it on and take it off as needed.


The Tie:


rebozo carry, step 1 Step 1. Folding the wrap in half lengthwise will ensure you have a good pouch for baby. Spread the middle of the wrap over the right shoulder with the folded side toward your shoulder and the opening toward your neck.
Step 2. Bring the front and back pieces around to your opposite hip and tie a knot at your left hip. Tying a sliding knot will allow you to tighten or loosen the wrap after baby is in. For sliding knot instructions see:
Tying a Sailor’s Knot
rebozo carry, step 2


For Hip Carry:


rebozo hip carry, step 1 Step 1. Slide knot up toward your right shoulder. You now have a pouch at your left hip.
Step 2. Bring baby up high on your left shoulder, as if to burp baby. rebozo hip carry, step 2
rebozo hip carry, step 3 Step 3. Lower baby, while bringing the wrap over baby’s feet and legs. Baby’s legs should come out the bottom.
Step 4. Spread the fabric under baby to form a seat all the way to baby’s knees, and spread it up baby’s back to baby’s armpits for arms out, or over baby’s shoulders for arms in. rebozo hip carry, step 4
rebozo hip carry, step 5 Step 5. If you used a sliding knot, you can now pull the knot up (or down) to tighten (or loosen) until baby is in the right place (think high).
The wrap in the picture is much longer than necessary. You can tie the excess around your waist or around baby as needed. rebozo hip carry


For Cradle Carry:


rebozo cradle carry, step 1 Start over with the empty wrap.
You may prefer to move the knot to your back. rebozo cradle carry, step 2
rebozo cradle carry, step 3 Flip the shoulder by reaching underneath the fabric on your shoulder to pull the inner edge (near your neck) under the fabric toward your shoulder. The inner and outer edges will switch places on your shoulder.
You can place baby in the cradle position with head on your left by lifting baby in your left arm above the wrap. rebozo cradle carry, step 4
rebozo cradle carry, step 5 Lower baby’s bottom into the pouch, make sure that baby’s legs and feet are secure in the pouch.
Pull the fabric up over baby’s head for support. I have also tied the excess fabric around my waist to get it out of the way. rebozo cradle carry, step 6
rebozo cradle carry, step 7 You can also place baby in the cradle position with head on your right by lifting baby in your right arm above the wrap and lowering baby in as on the other side.
On either side, baby is now ready to nurse, nap, or cuddle! rebozo cradle carry


bottom menu

About Us     Links     Contact Us     Baby Wrap Store     Types of Baby Carriers     View Cart

©2007 Baby Earthling LLC All rights reserved.